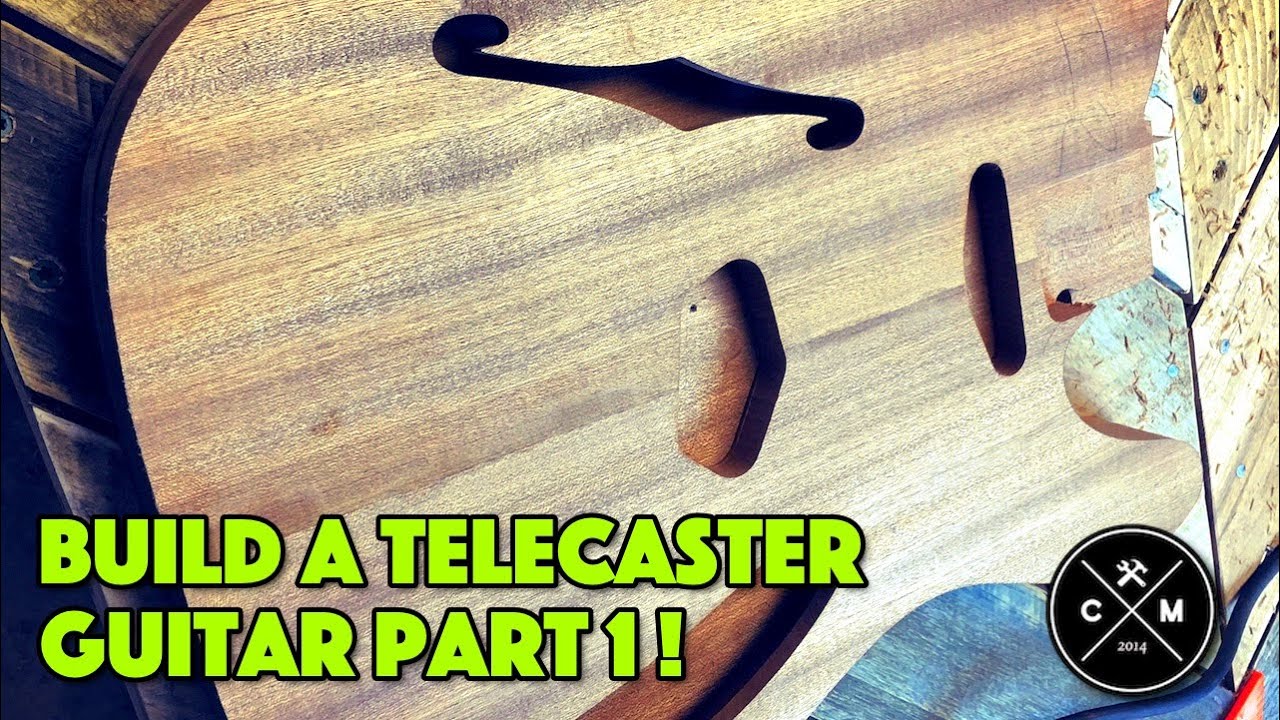
Welcome to the DIY Guitar Build Series! In this series, we will guide you through the process of building your own guitar from scratch. Whether you’re an experienced woodworker or a beginner looking to delve into the world of guitar making, this comprehensive series will provide you with all the information you need to create a beautiful and functional instrument. So let’s get started with Part 1: Introduction to the Project!

Background
Building your own guitar is a rewarding experience and a great way to customize your instrument to your preferences. By crafting your guitar from scratch, you can choose everything from the wood type to the hardware, resulting in a truly unique instrument that reflects your style and sound.
Choice of Guitar Style
Before embarking on your guitar-building journey, it’s essential to consider the style of guitar you want to build. Whether you prefer the classic tones of a Stratocaster, a Les Paul’s warm sound, or a Telecaster’s versatility, each guitar style offers its own unique characteristics. Take some time to research and listen to different guitar styles to determine which one resonates with you the most.
Materials Used
Now, let’s talk about the materials you’ll need to bring your guitar to life. One of the most critical components of any guitar build is the wood. Wood selection will greatly impact your instrument’s sound, resonance, and aesthetics. Additionally, you’ll need various tools, templates, and hardware to assemble your guitar. We’ll dive into the specifics of these materials throughout this series to ensure you comprehensively understand what you’ll need.
Choosing the Wood
The wood you choose for your guitar body and neck is crucial in determining its tonal qualities and overall feel. When choosing wood, consider factors such as density, weight, and grain pattern. Here are some important aspects to consider when selecting the wood for your guitar:
Purchase Location
It’s essential to purchase your wood from a reputable supplier that specializes in guitar building materials. These suppliers have a wide range of wood selections specifically curated for guitar making. They can provide expert advice and ensure you get high-quality wood for building a guitar.
Wood Type
The type of wood you choose will greatly affect the tone and resonance of your guitar. Some popular choices for guitar bodies include alder, ash, mahogany, and maple. Each type of wood has its own unique characteristics that will contribute to the sound and feel of your instrument. For the neck, common options include maple, mahogany, and rosewood, each providing different playing experiences.
Dimensions and Preparation
Once you’ve chosen the type of wood for your guitar, it’s time to consider the dimensions and preparation. Depending on the style of guitar you’re building, you’ll need to ensure the wood is cut to the appropriate measurements. It’s essential to have a plan or template in place to guide you in cutting and shaping the wood accurately.
Check DIY Guitar Build Series Part 2 Here.
Tooling and Templates
To ensure your guitar build is precise and accurate, you’ll need a set of tools and templates specifically designed for guitar making. These tools will help you achieve professional results and streamline your building process.
Introduction to the Template Set
Using templates is crucial when building a guitar, as they provide you with precise measurements and guide you in shaping the body and neck. A template set typically includes templates for the body shape, neck profile, and various cavities. These templates are typically made from sturdy materials like acrylic or CNC-cut plywood.
Template Details
Each template in your set will have specific details to guide you in achieving the desired shape and dimensions. For example, the body template will have contours and routing guides for pickups and controls, while the neck template will outline the neck’s shape and the fretboard’s position.
Custom Adjustments
While templates provide a great starting point, you may want to make some custom adjustments to suit your preferences. With the help of your templates, you can modify the shape, thickness, or contour of the body and neck to create a guitar that feels and looks just right for you.
Pre-Made Neck and Pickguard
If you’re not confident in shaping your own neck, or if you want to save time, you have the option to purchase a pre-made neck. Pre-made necks come in different styles and fretboard materials, allowing you to choose the one that best fits your desired sound and playing experience. Similarly, you can purchase pre-made pickguards that match your guitar style, saving you the effort of cutting and shaping your own.
Cutting the Body
Now that your materials, templates, and tools are ready, it’s time to begin shaping your guitar body. This step requires precision and attention to detail to ensure a clean and accurate cut.
Using the Miter Saw
A miter saw is an excellent tool for cutting the body outline and shaping the contours of your guitar. Ensure that you have appropriate safety equipment, such as goggles and a mask, before operating the saw. Secure your wood using clamps or a vise to keep it steady while making the necessary cuts. Remember to take your time and follow the template carefully to achieve the desired body shape.
Precision and Safety Measures
When cutting the body, it’s crucial to follow the template precisely to avoid any errors or inaccuracies. Take your time and work slowly to ensure clean and accurate cuts. Additionally, prioritize safety by wearing protective gear, using the appropriate tools, and following the safety guidelines provided by the manufacturer.

This image is property of images.unsplash.com.
Jointing the Edges
Achieving clean and flush edges is essential for a professional-looking guitar body. Jointing the edges ensures that the separate pieces fit together seamlessly, creating a solid foundation for your guitar.
Purpose and Importance
Jointing the edges involves creating a straight, precise, and flush surface where the individual body pieces will be joined together. This step is crucial as it ensures stability, strength, and a clean appearance for your guitar body. Additionally, it helps to minimize any gaps or irregularities between the different wood pieces.
Using the Bench Top Jointer
A benchtop jointer is a specialized tool that allows you to flatten and straighten the edges of your wood pieces accurately. It consists of an adjustable fence and rotating cutting blades that remove any high spots or irregularities from the edges. Using a jointer will result in perfectly square and flush edges, providing a solid foundation for gluing your body pieces together.
Achieving Clean and Flush Edges
To achieve clean and flush edges, start with the jointer set at a shallow depth of cut. Run your wood pieces through the jointer, keeping them flat against the jointer’s fence. Gradually increase the depth of cut until the edges are perfectly flat. Repeat this process for all the pieces that need jointing until you have precise and flush edges that are ready for gluing.
Gluing the Body
After joining the edges of your guitar body pieces, it’s time to glue them together. Proper gluing is crucial to ensure a strong bond between the wood pieces and create a solid, stable body for your guitar.
Choosing the Right Clamps
When it comes to gluing the body, choosing the right clamps is essential. Look for clamps that provide even pressure distribution and allow for easy adjustment. Ideally, you’ll need enough clamps to simultaneously exert pressure on all the joints. This ensures a secure and even bond between the pieces.
Selecting the Glue
Selecting the right glue is equally important. Wood glues, such as aliphatic resin glue or polyvinyl acetate (PVA) glue, are commonly used in guitar making due to their strong bonding capabilities. Before applying the glue, ensure that the wood surfaces are clean and free from debris, as this will aid in achieving a solid bond.
Applying the Glue
Apply a thin and even layer of glue to each joint, ensuring complete coverage. Assemble the body pieces carefully, aligning the edges correctly. Apply gentle pressure to secure the pieces together. Use clamps to hold the pieces in place, making sure that the pressure is evenly distributed across all the joints.
Ensuring Proper Alignment
During the gluing process, paying close attention to proper alignment is crucial. Ensure that all the body pieces are aligned correctly to achieve the desired body shape and avoid any irregularities. Use a straightedge or a template to check for gaps or misalignments and make necessary adjustments before the glue sets.
Final Steps and Drying Time
With the body glued together, it’s time for some final steps before allowing the glue to dry completely.
Wiping Off Excess Glue
Use a damp cloth to quickly wipe off any excess glue that squeezes out from the joints. This step ensures that the finish of the guitar body remains clean and free from any dried glue residue.
Drying Duration
The drying time for the glued body will vary depending on the type of glue you’ve used. Follow the manufacturer’s instructions to ensure that the glue fully cures before proceeding to the next steps of your guitar build. During this time, keeping the glued body in a flat and stable position is important to prevent any warping or distortion.
Conclusion
Congratulations on completing Part 1 of the DIY Guitar Build Series! In this part, we covered the introduction to the project, the choice of guitar style, the materials used, choosing the wood, tooling and templates, cutting the body, jointing the edges, gluing the body, and the final steps before drying. With each step, you’re closer to building your custom guitar from scratch. In Part 2, we will dive into the exciting world of shaping the body and neck, bringing your guitar one step closer to completion. Stay tuned!


