


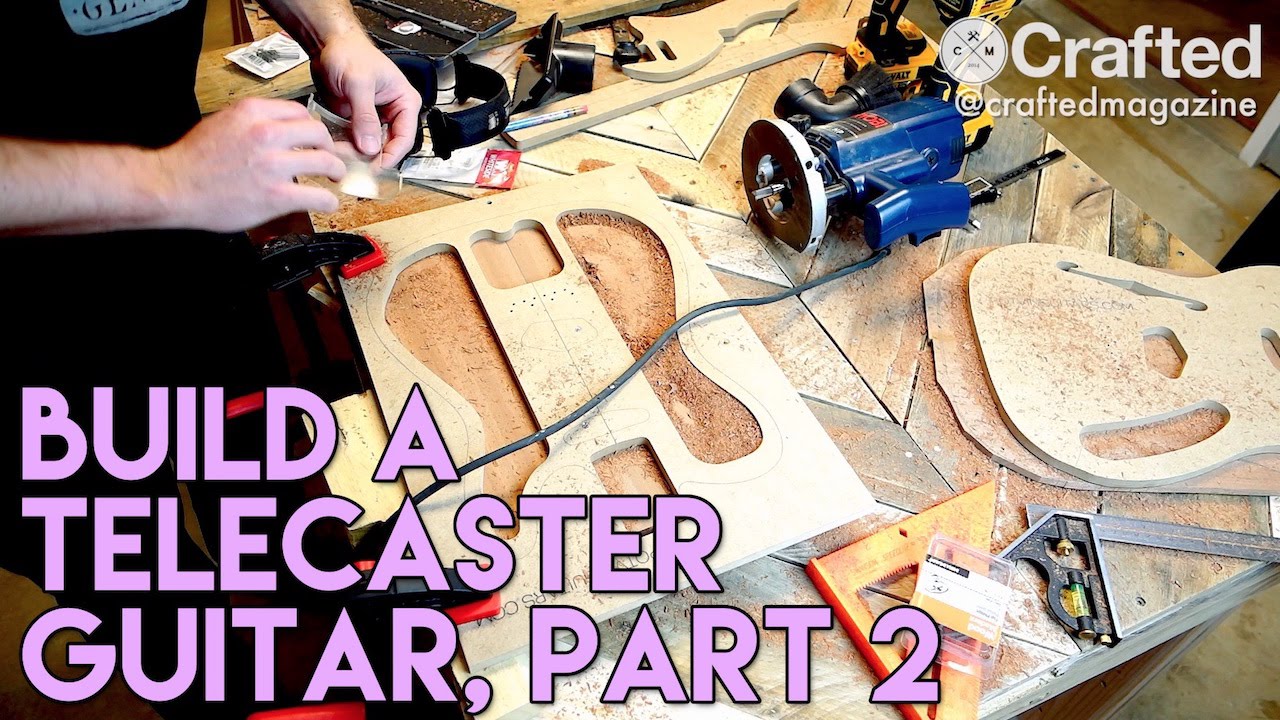
In Part 2 of the DIY Guitar Build series by Crafted Workshop, you will learn all about shaping and cutting the guitar body. The video takes you through the process of establishing the centerline, tracing the body, and using a bandsaw to cut off excess material. Crafted Workshop provides detailed instructions on how to use the bandsaw for clean, precise cuts efficiently. Additionally, they demonstrate using a plunge router and a routing template for chambering the guitar body. With step-by-step guidance and valuable tips, this video is perfect for anyone interested in building their own guitar.
In this informative video, Crafted Workshop showcases their expertise in DIY guitar building. They walk you through the process of shaping and cutting the guitar body using tools like a bandsaw and plunge router. With clear instructions and helpful tips, Crafted Workshop makes it easy for anyone to follow along and build their own guitar. Whether you are a seasoned woodworker or a beginner, this video is a great resource for learning the skills needed to create a custom guitar.
Check DIY Guitar Build Series Part 1 here.
Centerline and Tracing
Establishing the centerline
Before diving into the intricate process of building a guitar, it is crucial to establish the centerline. This fundamental step ensures the symmetry and accuracy of the entire build. You will need a straightedge and a marking tool to establish the centerline.
Begin by placing the straightedge along the body blank’s length, ensuring it aligns with the edges. Take your time to find the straightest edge possible. Once you have positioned the straightedge, mark a line down the center of the blank using your marking tool. This line will serve as your centerline throughout the construction process.
Tracing the body
Once the centerline is established, the next step is to trace the body shape onto the blank. This allows you to visualize the final shape and make accurate cuts later on. Start by acquiring a template or drawing of your desired body shape.
Place the template or drawing on top of the body blank, aligning it with the centerline. Secure the template in place using clamps or double-sided tape. With the template firmly in place, carefully trace around the outline using a pencil or a knife. Take your time with this step to ensure an accurate and clean trace.
Cutting the Waist
Using the bandsaw
After tracing the body shape onto the body blank, it’s time to start cutting. The first cut you will make is to remove excess material from the waist area. Using a bandsaw, carefully follow the traced outline, keeping a steady hand and following the curve of the body.
When using a bandsaw, paying attention to safety precautions is important. Always wear protective goggles and keep your hands at a safe distance from the blade. Take your time with each cut, and make sure to maintain the integrity of the traced shape.
Resawing a quarter-inch thick piece off the top
Once you have cut out the waist area, the next step is to remove a quarter-inch thick piece from the top. This process involves cutting the body blank into two thinner halves, which will eventually be hollowed out to create the chambered body.
To resaw the body blank, adjust the bandsaw blade to a thinner width and carefully cut along the centerline. Take your time and ensure that the cut is straight and precise. Once you have completed the resawing process, you now have the two body halves, ready to be chambered.

This image is property of i.ytimg.com.
Chambering Template
Positioning the template
Now that you have the two body halves, it’s time to position the chambering template. The chambering template defines the shape and depth of the chambers within the guitar body. Align the template with the centerline and secure it in place using clamps or double-sided tape.
Securing the template
To ensure the template remains in place while routing the chambers, it is essential to secure it firmly. Double-check that the template is aligned with the centerline and make any necessary adjustments. While clamps can be effective, using double-sided tape offers a more stable option, minimizing any potential movement during routing.
Using a plunge router with a pattern bit
Once the template is secure, it’s time to start routing the chambers. A plunge router with a pattern bit is ideal for this job. Set the depth of your plunge router according to the desired depth of the chambers and start making passes over the template.
Take your time while routing and ensure even pressure throughout the process. Move the router in a smooth and controlled manner, following the shape of the template. Repeat this process for each chamber outlined by the template.
Routing the Chambers
Routing the three chambers
With the chambering template securely in place, it’s time to start routing the chambers. Depending on your design, you may have multiple chambers to route. Follow the outline of the template and use a plunge router with a pattern bit to carefully remove material from the body halves.
When routing the chambers, be sure to pay attention to the depth and make multiple passes, gradually achieving the desired depth. This gradual approach ensures a clean and precise chambering, giving your guitar body optimal weight distribution and resonance.
Results and cleaning up
Once you have completed routing the chambers, take a moment to admire the results. You should now have a beautifully chambered body, ready for the next steps in the guitar-building process.
Before moving on, cleaning up any excess material left from the routing process is important. Use a chisel or sandpaper to smooth any rough edges or imperfections. Take your time during this step, as it helps achieve a professional finish for your guitar body.

This image is property of images.unsplash.com.
Neck Pocket
Routing the neck pocket to depth
Now that the body is chambered, it’s time to move on to the neck pocket. The neck pocket is where the guitar neck will be securely attached to the body.
To properly route the neck pocket, use a chisel or a router equipped with an appropriate bit to remove material from the designated area. Care to match your neck’s depth and dimensions to ensure a precise fit.
Cleaning up the cavity
After routing the neck pocket to the desired depth, cleaning up the cavity is essential. Use a chisel or sandpaper to smooth any rough edges or excess material. A clean and well-fitted neck pocket will ensure stability and proper alignment of the guitar neck.
Gluing the top on
Once the neck pocket is cleaned up, it’s time to glue the top onto the chambered body. Apply wood glue to the mating surfaces of the body and the top, ensuring even coverage. Align the top with the body, using the centerline as a guide, and apply gentle pressure to create a tight bond.
Gluing the Top
Applying the glue
To adhere the top to the chambered body, it is vital to apply wood glue evenly across the mating surfaces. The glue acts as the adhesive that holds the two pieces together and provides structural integrity to the guitar body.
Use a brush or a glue spreader to distribute a thin, even layer of wood glue on both the top and the body. Take care to cover the entire mating surface, ensuring there are no gaps or areas without adhesive.
Clamping the top
After applying the glue, carefully place the top onto the chambered body, aligning it with the centerline. Apply even pressure to the top, using a combination of clamps to ensure a secure bond. Make sure to distribute the clamps evenly along the body to prevent any warping or misalignment.
Conclusion
Allowing the glue to dry
With the top glued onto the chambered body, the final step is to allow the glue to dry. The glue takes time to cure, and it is essential to exercise patience during this stage of the guitar-building process.
Place the guitar body in a safe and dry location, ensuring it is not disturbed or subjected to any excessive force. Follow the manufacturer’s recommendations for the specific wood glue drying time.
Once the glue has fully cured, you can proceed with the remaining steps of the guitar-building process, such as sanding, finishing, and attaching the hardware. Remember, attention to detail and patience are key when crafting your own guitar. Embrace the process and enjoy the journey as you create a beautiful instrument that reflects your creativity and passion for music.


